Wednesday, March 30, 2016

Nutritious Banana Ice Cream; 4 Different Flavors


As a Momma I am always looking for fun ways to sneak vitamins and good nutrition into my son's diet. He constantly asks for sugary treats and yes, sometimes I let him indulge, but on a typical day I would rather he eat something nutritious. So for breakfast if he is asking for something like "cake" I will give him french toast or pancakes with fruit purees added into the mixes and call it "cake". If he is asking for "candy" I normally opt for non artificially colored or flavored gummy snacks. I can only imagine what other people think I am feeding him if he insist that he eats junk foods all day... #thestruggleisreal

One of my favorite little tricks, that I even use on myself when I crave something sweet and creamy, is this simple recipe for banana ice cream. Bananas are about 100 calories each which can be about the same as a serving of ice cream, depending on the type. Obviously, bananas are far superior because they are naturally sweetened and full of vitamins and minerals; vitamin B6manganesevitamin Cpotassium, dietary fiber, potassiumbiotin, and copper.


The recipe I use can be classified as clean, paleo, and vegan depending on your ingredients used for flavoring. To make it vegan or dairy free use almond milk or another non dairy milk of your preference and only flavor with pure extracts, vegetables, or fruits. I choose to do Neapolitan and a mint chocolate chip ice creams using only whole ingredients.

Ingredients for about 2 cups, (1/2 cup serving size)
  • 1 1/2 to 2 Frozen bananas, (peeled, sliced, then froze)
  • 1/4 cup Milk or non dairy milk of choice
Ingredients for my flavors 

Mint chocolate chip
  • 1/4 cup spinach (for color and extra vitamins)
  • 1/8 tsp peppermint extract
  • 2 Tbs mini dark chocolate chips

Neapolitan

  • 2 Tbs cocoa powder or chocolate plant based protein powder (I used vegan chocolate Shakeology)
  • 1 Tbs virgin coconut oil
  • 1/2 frozen strawberries
  • 1/8 tsp vanilla extract


You will also need a blender or food processor, to get the desired texture, and a resealable container that can be stored in the freezer.
 

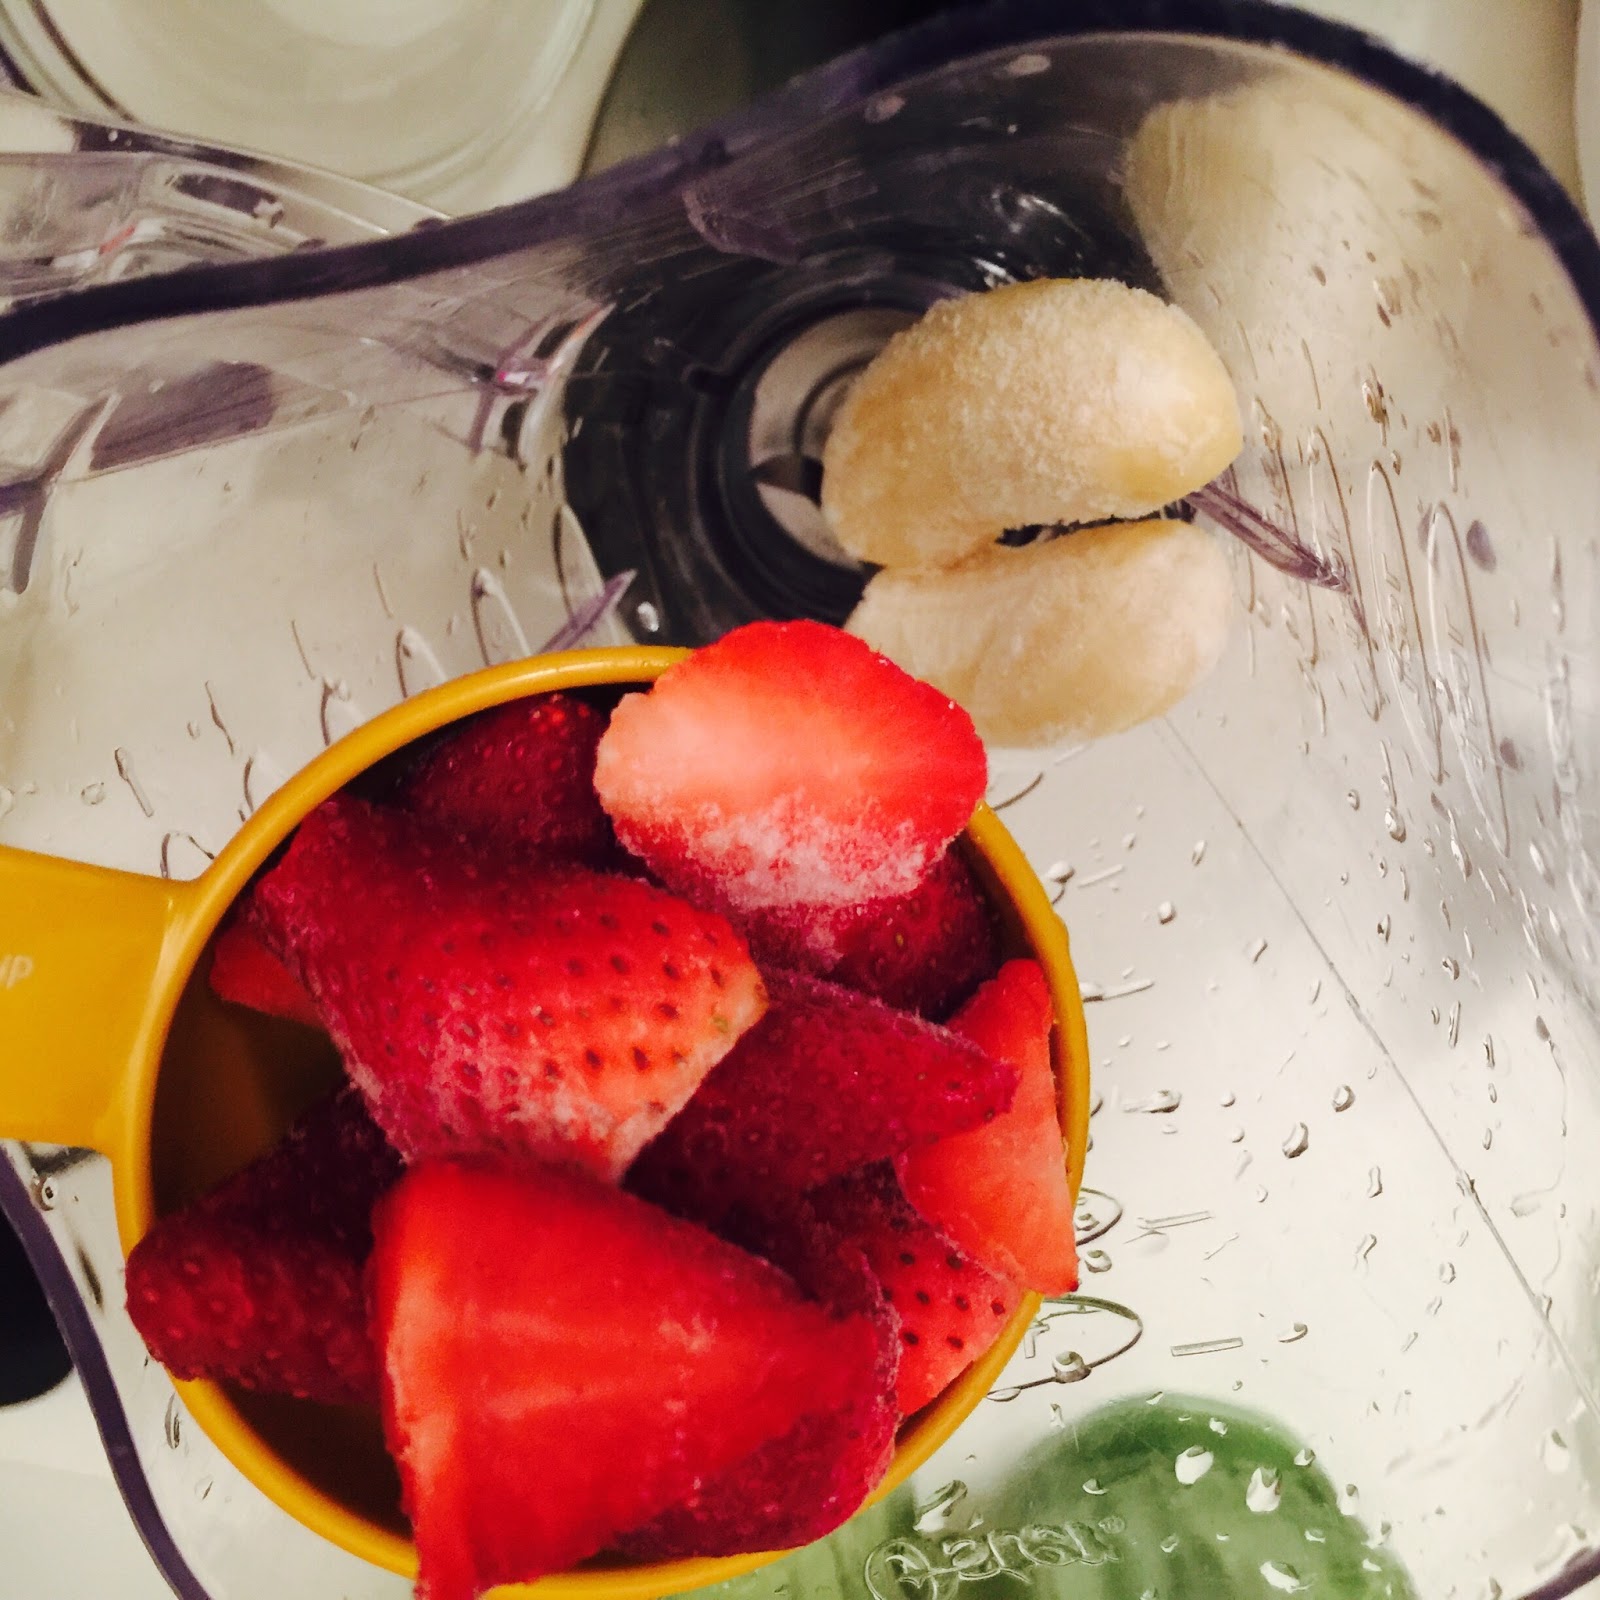
To prep this recipe you will need to peel and slice your ripe bananas. ( I only cut them into halves, because I also use half of a frozen banana in my morning shakes.) Then place them into a resealable container or zip lock. Allow them to thoroughly freeze for a few hours. I also washed, sliced, and froze some strawberries for my strawberry flavor and already had a package of frozen chopped spinach for my mint chocolate chip.

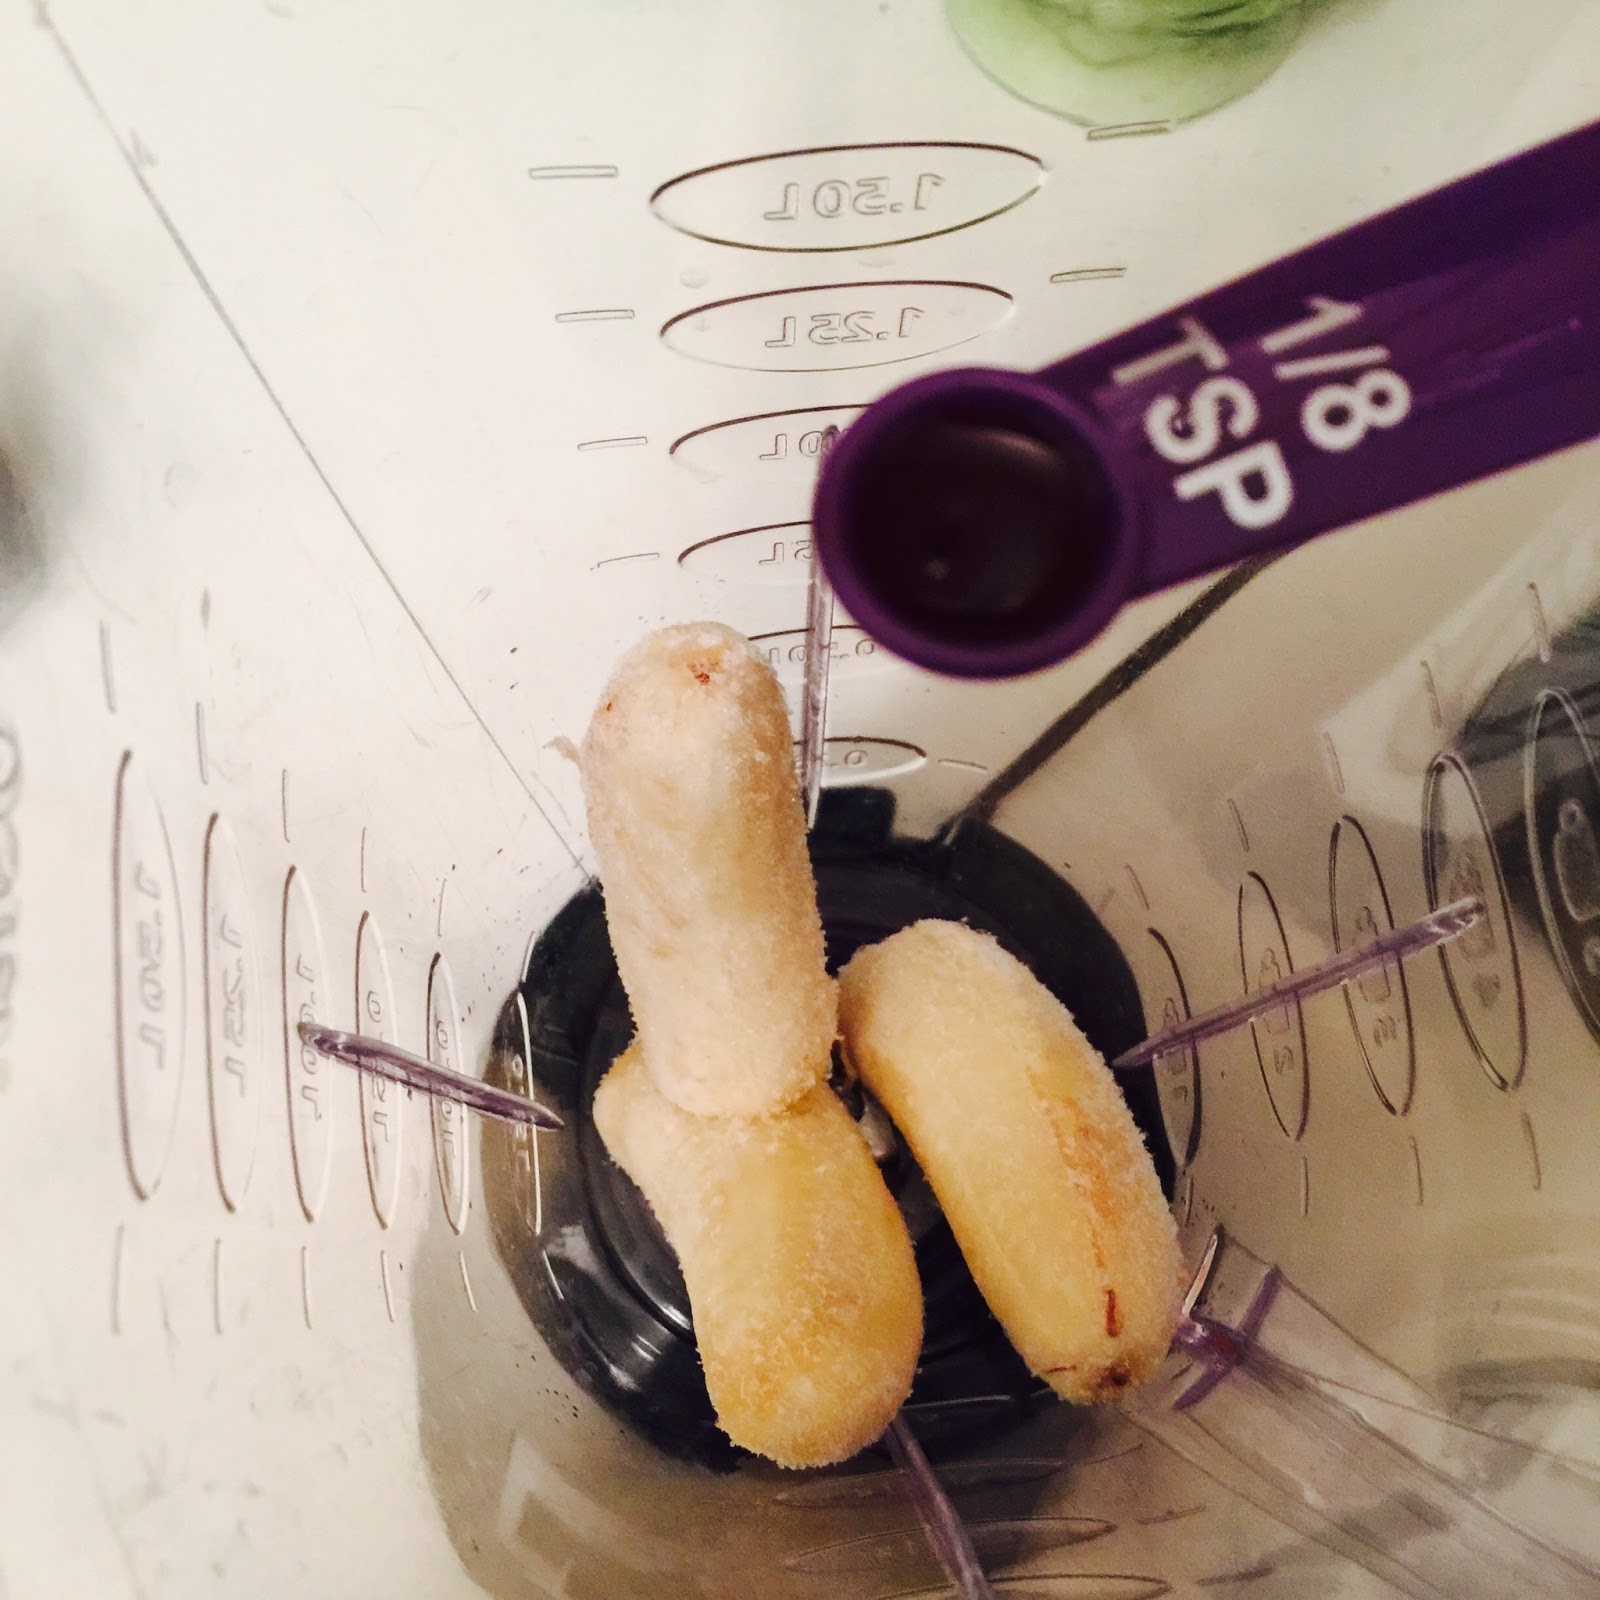
Once your bananas are frozen, you can start creating your flavors. You can be really creative with your choices. I recommend starting with 1 to 2 bananas then build your flavors by adding about 2 tbs nut butters, protein powders, 1/8 tsp of extracts, or 1/4 to 1/2 cup of fruits or vegetables. 

Vanilla Banana
  • 1 1/2 frozen banana
  • 1/4 cup milk
  • 1/8 tsp vanilla


Strawberry Banana
  • 1 frozen banana
  • 1/2 cup frozen strawberries
  • 1/4 cup milk


Chocolate Banana
  • 1 1/2 frozen banana
  • 2 tbs cocoa powder ( I used vegan chocolate shakeology, for added superfoods)
  • 1 Tbs coconut oil
  • 1/4 cup milk 


You can enjoy these flavors individual or layer them in a container Neapolitan style, like I did. Let the ice cream set up in your freezer for 2-3 hours to achieve a thicker texture, or eat it once it's blended if you prefer a meltier ice cream.

Mint Chocolate Chip
  • 2 bananas
  • 1/4 cup frozen chopped spinach
  • 1/8 tsp peppermint extract
  • 1/4 cup milk
  • 2 tbs mini chocolate chips * stirred into finished ice cream


I hope you enjoy this recipe as a wonderful ice cream alternative! 

XOXO

Tuesday, March 22, 2016

Kate Spade Inspired Bridal Shower

It's Bridal Shower season so I thought I would share some tips from a bridal shower I threw for a friend, last year.


First off with everything I do I like to be very frugal or budget oriented. My biggest tip for being conservative and still pulling off a beautiful event is to PLAN AHEAD!! This is going to be the most helpful tip and will help you stick to your budget. If you have a clear idea of what you want your  party theme to be, then when you are out doing your regular shopping and you happen to see something that will fit into your party theme, at a reasonable price, you can collect your supplies over time. I normally plan, at least, 3 months ahead.

Another tip I like to follow, is recycle and repurpose as much as you can. Personally, I love to give items a new life, and most of the time those items are free (bottles to use as vases, painted tin cans as pen holders, repainted old picture frames, etc). Talk about budget friendly! If you see something someone is going to throw out, check to see if they're willing to give it to you.

Once I determined my idea for the shower, I started collaborating my ideas. I was into black and white stripes and the Bride was into gold metallics and a classic color, that really complimented the two ideas, was hot pink. Playing off of the color scheme I wanted it to have a Kate Spade vibe. I just loved the clean lines and floral accents of that style. Then off I went "hoarding," as my husband would say, my party supplies!

The table settings were the most important design element, because I interpreted a "Kate Spade vibe" as an elegant girly style, I wanted to do a semi-formal plate setting. To achieve that looks for less I used black plastic table clothes, from the dollar store, and layered plastic and paper plates. The metallic tones and color contrast of black and white gave it that clean, classy look. I tied the setting off with a hot pink paper napkin that was taped in the center to look like a bow. -I LOVE THIS LOOK!

To create my center pieces I used black and white striped gift wrap paper, I found at a craft store for a dollar, as my runners. I taped it to the table cloth to keep it in place. To add some color to the table, I cut up hot pink tissue paper to resemble petals. The arrangements were made by using recycled old bottles I found from an old barn. (sounds crazy but you never know where you will find interesting design elements.) All I had to do was clean up the old bottles and give them a coat of spray paint and added some pink flowers I got from the dollar store.

My favors were super easy to do and were, currently, on trend. I printed the quote "tying the knot" along with the Brides name and shower date onto card stock paper. I then tied decorative elastic ribbon that was cut to size to the paper cutout. For just a few cents a piece, I had some adorable hair ties for each guest to take home.
To set up a photo booth I painted a sign using the couple's wedding hashtag onto black foam poster board. We added some fun photo props and created a colorful backdrop using plastic table clothes.  The backdrop is one of my favorite tricks that I've used a few times. All you need to do, to get this striping effect, is to layers 3 plastic table clothes onto of each other. You could use different colors or all the same if you choice. Then, cut the table clothes into 1 1/2 inch strips leaving about 6 inches at the top so it stays together. You then braid 3 strips, starting from the uncut end, about 8 inches down to create the color striping effect.

The "sign in" and buffet tables were decorated to coordinate with the theme. Hot pink, black, white, and gold glitter accents with random knick knacks, I collected during the "hoarding stage," helped to add interest and tied the look together. I also made the cake which was a simple boxed chocolate mix with a cookies and cream filling. It may not be the most creative cake but it went well with the theme and by doing it myself, I saved money. The bottom layer was decorated with white buttercream icing and black fondant stripes along the side. The top layer was decorated with gold buttercream icing trimmed with a black ribbon and topped with a cute banner I designed by just using word from my computer.


Just by spending some thought and some extra time into putting all these final touches together, I was able to create a beautiful memory, with the help of some others, for a friend and even did it within a tight budget. I hope this party idea inspires you to do the same at your next event.

XOXO


Monday, March 21, 2016

Easter Egg Decorating Party for 2


My favorite thing about being a Momma is making every holiday or adventure a happy memory for my son. Of course, sometime the plan goes south, thats just life, but I'll try my best to keep it as a funny or positive memory for him. It just warms my heart thinking that when he's older he would share these traditions with his family.

Now that he is 3 years old he is at the perfect age to get involved with some more craftier traditions. Last Christmas we had our try and a gingerbread house and some baking, and he absolutely loved it.  So for Easter I decided we would give coloring eggs a "go", and threw a little "egg decorating party" for the 2 of us. #Mommysondate :)

So for this party I went super simple and just did a few mini craft stations with materials I already had. You don't have to go crazy and spend money on every little detail to make a memory special.
  • Egg dying area ( I bought a few egg coloring kits at last years "after easter clearance" but your could do this with 1/2 cup warm water, 2 Tbs white vinegar, and a few drops of food coloring)

  • Glue and scrapbook paper area ( I went with boyish pattern paper i already had and made my glue mixture with 1 TBS school glue and 2 TBS water)

  • Sticker, crayons, markers, glitter & watercolor area

  • Stamping area 


Then I just let my creative little 3 year old loose on his eggs.


We had such a fun time doing this and only had a few mishaps. Always remember don't sweating the small stuff and just be in the moment. As a Momma anything that puts a smile on your kids faces is worth the effort of putting together. :)


XOXO


Sunday, March 20, 2016

Homemade Cold Brew Coffee Concentrate

This is a great frugal recipe if you have a love for chic, barista crafted iced coffees.

To achieve a great tasting Cold Brew you will need some higher end, delicious "fair trade" coffee (the fresher the better). Your coffee doesn't have to be super costly just do not use a commercial brand because they use fillers in their products and it just won't give you a great final product. The process of brewing your coffee at room temperature or "Cold" really releases all the notes and flavors from your coffee, as where brewing with hot water takes away some of those flavors. So if you are using a highly processed coffee you are going to taste all of those fillers.

You will also need some filtered water, a large container (I used 2 shaker bottles so anything you have on hand will work), and a mesh strainer (cheese clothes, lint free dish towel, or a coffee filter and a funnel will also work). This is going to make a coffee concentrate that you will need to dilute to your desired strength preference once it is finished. I forgot to do this once and was up all night!

Instructions
  • 1 1/3 cups grounded coffee
  • 4 cups water
  • This recipe yields about 4 cups of cold brew concentrate and about 8-12 cups of iced coffee. The concentrate will last up to 1 week refrigerated.

  • Pour your coffee grounds into a large sealable container then add your water, seal, and let the mixture set at room temperature for 8-24 hours. The longer it sets the stronger the concentrate.


  • Once your concentrate has steeped, you will use your strainer. I used a funnel and a basic coffee filter, (this method takes longer so if you have a cheese clothes or mesh strain those would be better options.) Secure your strainer over a clean jar or pitcher and strain out the coffee grounds. You can filter as many time as needed.


When you go to make your latte you will need to dilute with water, I recommend a ratio of 1/3 coffee,  2/3 water. You can use less water if you like a stronger drink. Add ice, creamer, extract, spices, and sweeteners to your preference & ENJOY!


Xoxo

German Apple Pancake

The perfect baked breakfast dish to serve at your next brunch!

Ingredients
  • 1 Apple, peeled and sliced
  • 1 tbs brown sugar
  • 1 tsp cinnamon 
  • 1 tbs unsalted grass fed butter
Batter mixture
  • 2 eggs
  • 1/2 cup all purpose flour
  • 1/2 cup milk
  • 1/4 tsp salt
Topping
  • Cinnamon, to taste
  • Powdered sugar, to taste
In a frying pan melt butter, then add sliced apples, brown sugar and cinnamon. Cook until they are soft.

Preheat oven to 400 degrees. Grease a baking dish with non stick spray.

In a small bowl mix eggs, milk and salt. Then slowly add flour until mixture is smooth.


Once your apples are cooked arrange in the bottom of your baking pan.


Pour batter over apples and bake for 20 - 25 minutes.

Sprinkle cinnamon and powdered sugar on top and enjoy!! 

Xoxo

Clean Green Frittata

This is a delicious clean eating recipe that is full of flavor!

Ingredients
  • 1/2 cup chopped spinach
  • 1/2 cup shredded zucchini 
  • 1/4 cup diced onion 
  • 1/4 cup shredded natural cheese
  • 6 eggs
  • 1 tsp lemon juice
  • Sea salt and black pepper to taste 
  • Spray olive oil to grease baking pan


Preheat oven to 350 degrees
Grease your baking dish, then add all vegetables to your dish then add your shredded cheese. 

In a medium bowl whip eggs, salt, pepper and lemon juice until your eggs are frothy.

Pour your egg mixture into the baking dish and spread evenly. 
Bake for 20 - 25 mins.

Serve hot with desired toppings!

Mine = Sriracha, Sriracha!

:)

Waffle Recipe

A classic waffle batter recipe your kids will love.


Ingredients 
  • 2 eggs
  • 2 cups all purpose flour
  • 1 3/4 cups milk
  • 1/2 cup canola oil
  • 1 Tbs sugar
  • 4 tsp baking powder
  • 1/4 tsp salt
  • 1/2 tsp vanilla extract 


Mix all ingredients in a large bowl. Mix until smooth.

Preheat waffle iron and spray with a non stick cooking spray. Pour 1/3 cup batter per waffle. 
Yields 6 large waffles.

Top with fruits, chocolate chips, cinnamon, whipped cream, jams, or syrups!!!


Enjoy!!

Hosting a Brunch on a Budget.

Last Saturday, I decided to spice up a normal weekend gathering with the girls by hosting a fun little Brunch. Doing this completely last minute, I wanted to be as frugal as I could be with the get together and did it by using things I had on hand to decorate, set up, and plan the menu.


For decor, I just picked some items I already had around my house and used it in a different way. I used some collective milk glass vases I had from my kitchen and some single flowers I had from a springtime arrangement from my living room.


My dishes were some mix and matched plastic clearance items I've collected over the years which also helped add some color to my table setting. I also used recycled glass bottles to hold juice and a tea pot to hold coffee creamer for our iced lattes.
excuse my nails!!


My menu was put together by only using some staple pantry items I already had. (Recipes are in my "Recipes" file)


- German Apple pancake
- Fresh Green frittata 
- Waffle bar
- Turkey bacon
- Hash brown 
- Cold Brew coffee (for iced lattes)
- Mimosas

Apple German Pancake


Fresh Green Frittata 


Waffle Bar


Homemade Cold Brew Coffee


Simple Mimosas
1/2 part champagne or sparkling wine (the only purchased item for this brunch)
1/2 part orange juice or all juice of choice

You can also do non-alcoholic mimosas by swapping champagne with any flavor of sparkling water.


This was such a simple and quick party to put together and would be perfect for any birthday, Mother's Day, small shower, or just a way to create fun memories with your friends and family!

:)